
Challenge 4: XSS using HTML attribute
Learn how the XSS payload can be crafted using HTML5 event attributes rather than using the classic <script> tag


Welcome back to learning Cross-Site Scripting(XSS) with the Kurukshetra. An app built by d4rk36.
Before we start, ensure the lab is up and running. If you have not set up your lab yet. Feel free to refer back to the below link.
 Raghunath G
XSS Vulnerable App - By Design

Practicals
After setting up the lab, visit http://localhost:8066 and ensure it's accessible, then navigate to "XSS Challenge 4".

Give it a try with all the payloads you have learned so far.
I will go ahead and give it a try with our classic XSS payload.
Payload Try 1: Classic

Output:
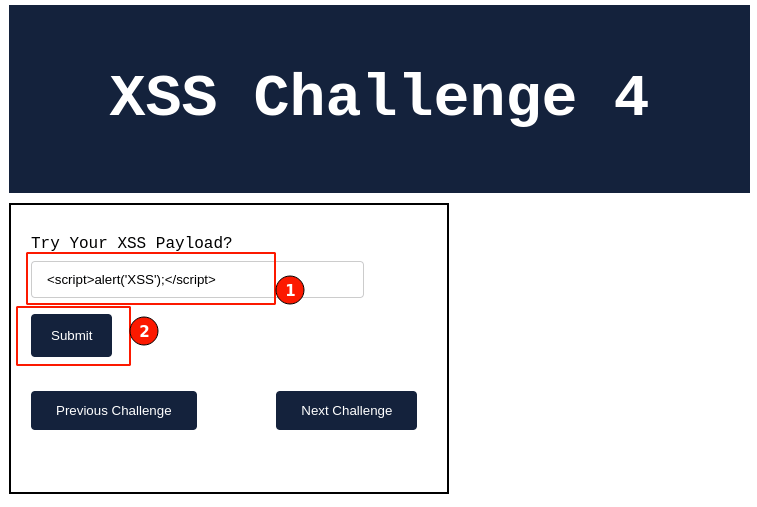
Enter the XSS payload in the input field and click on the "Submit" button.
This time, we haven't gotten any pop-up messages indicating that our XSS payload didn't work.
Right-click and select "View page source", then search for the given payload to understand what exactly is happing with injected payload.

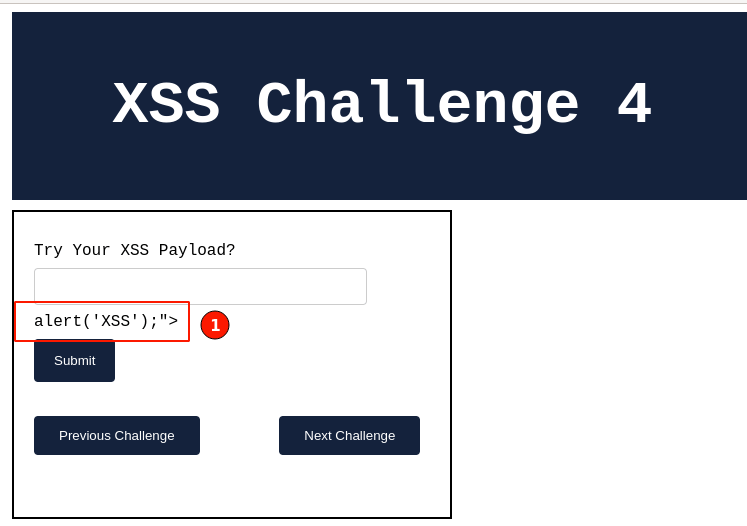
Observe, that our script code given as input, is reflected in the HTTP response and is correctly placed in between the input value quotes. Which is working as expected.
All the payload is being treated as a text value and is no longer able to control the behavior of HTML code.
Can we assume that the vulnerability is fixed? May be

Closely observe that all the characters typed in the input payload are being injected and reflected in the HTML response without much filtering or encoding.
It is worth to give a try with other possible ways of exploiting XSS before we can confirm whether it is fixed or not.

TIP - 4
The XSS payloads may not work as given all the time. We need to learn and find what allowed characters are and a working payload needs to be carefully crafted out from the allowed list of the character set.
Previous HTTP Response Screenshot:

In the above, all the given XSS payload is being placed inside the double quotes. Let's improvise the payload by appending a double quote before the script tag and see if it can control the HTML response behavior.
Improvised Payload 1:

Enter the above payload in the input field, then click on the "Submit" button.
Browser Output:
For the immediate response, click on the "View page source" and search for the injected payload and how it's being reflected in the HTTP response.

Interestingly, the double quote gets injected and aligns well with the HTML response code. As we can control the HTML response behavior, This gives us hint that there is a possibility to exploit reflected XSS further.
We now have most of the information to craft a working XSS payload.

The XSS payload here can be crafted in a couple of ways.
- Trying to use the available/allowed HTML5 event attributes to execute the reflected XSS. As used in the previous article.
- Closing the HTML input form tag, injecting our classic XSS payload, and commenting out the rest of the code.
One way to choose this type of scenario is based on the length limitations set by the application.

Let's use the first way mentioned above to craft the XSS payload.
Improvised Payload 2: Using HTML5 Attribute

onmouseover is one of the HTML attributes that can be used with HTML tags, the moment the mouse hovers over the code, the javascript alert() function gets triggered.
Enter the above-improvised payload in the input field and click on the "Submit" button.
Output:
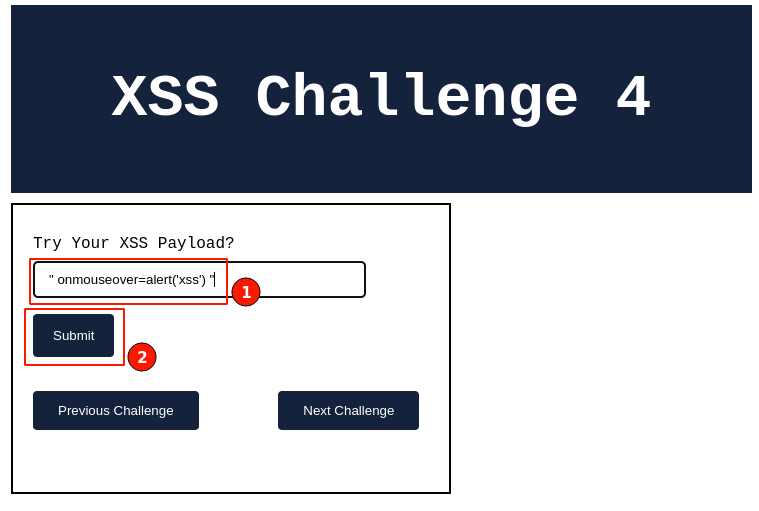
For a moment, things seemed like nothing happened, and the application behaved normally as expected.
Take your mouse, hover over the input field, and observe. Immediately, a pop-up message is prompted, as shown below.
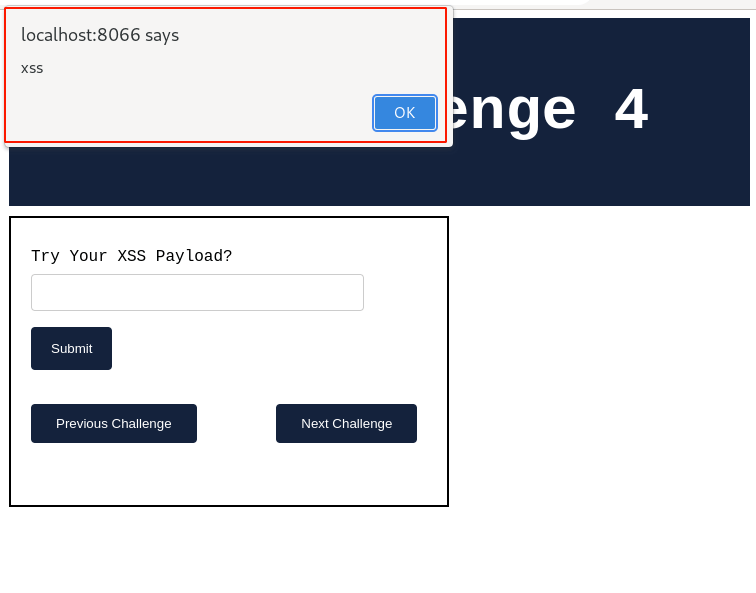
yay!!!, our XSS payload worked and the application displays the pop-up message. This confirms that the application is still vulnerable to the reflected cross-site scripting vulnerability.
Will view the page source code to check how our payload got injected and changed HTTP response behavior. Right-click and select "View page source", then search for the injected payload string.

Observe that the double quote has closed the value field, then appended the HTML attribute element for the input tag with the "onmouseover" event along with the javascript code, then closed the double quote to further align with the HTML code.
We have successfully confirmed that the application is still vulnerable to cross-site scripting vulnerability.
Let's continue and try out the second method mentioned above to craft the XSS payload.
Improvised XSS payload 3: Classic XSS with syntax correction

The above payload is the same as we used earlier but with minor modifications.
In prefix, a double code followed by a greater than arrow mark to close the input form field. Then at the end of the script code append the HTML comment code, this will comment out all the next code after our HTML script tag.
Enter the above payload in the input field and give it a try.

Output:
Immediately, a pop-up message is displayed confirming that the XSS payload still works.
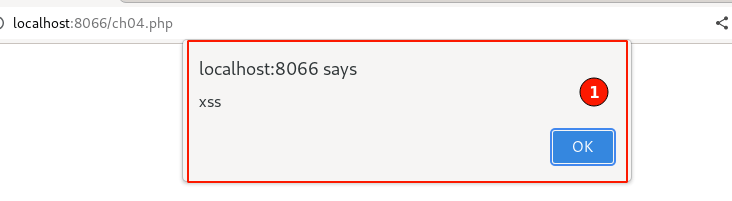
Click "OK", then Right-click and select "View page source", then search for the injected payload string.

As expected, observe the HTML input tag is closed, then injected with our classic XSS payload and followed by commenting out all the rest of the code after the HTML script tag.
By this, we have successfully exploited the cross-site scripting vulnerability challenge 4.

Summary
In this article, we learned how poorly implemented validations can still be bypassed by improving the XSS payload and trying different possible combinations. Also, there is no need that the default XSS payload needs to work out of the box, the payload needs to be tweaked based on the scenarios to make it work.
Keep learning! :D