
BurpSuite Installation
The following post will walk you through different packages of BurpSuite Tool and the Installation of a tool in the Linux Environment.


BurpSuite is a tool specifically designed for application security testing. It is used for crawling the website, tampering with HTTP messages, identifying vulnerabilities, automating security testing, and many more functionalities are inbuilt.
We will cover the sections of BurpSuite individually as we keep trying for security vulnerabilities.
BurpSuite(aka portswigger) offers three variants, a community edition, a professional, and an enterprise edition. We will use community edition throughout the articles, which suffixes our requirement.
The burp suite can be found here: https://portswigger.net/burp/communitydownload.

BurpSuite Community Edition Download
Once you are familiar with security assessments and concepts, I would recommend you to go for the professional edition as it has many more benefits, like saving the sessions, optimizing scans, scheduling the assessments, etc.
BurpSuite professional edition saves a lot of time while performing real-world security assessments.
OWASP ZAP is an alternative. You can also use it or keep using the BurpSuite community edition, which has limitations but can help complete our work.
BurpSuite Installation
Visit the BurpSuite download page and click the "Go Straight to downloads" section.
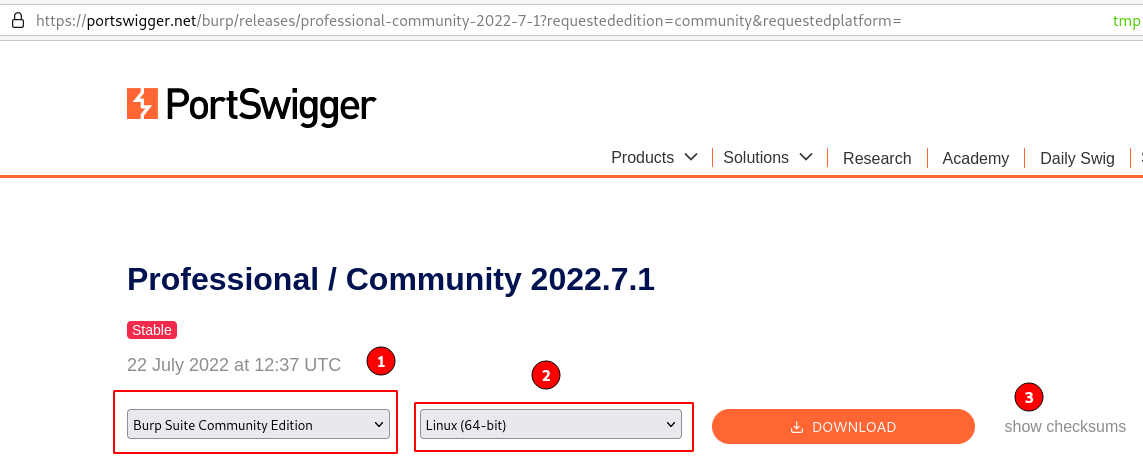
- Make sure you are downloading the community version.
- I am using the Linux-based OS, therefore choosing the Linux (64-bit) version and clicking on the "Download" button.
- Click on the "Show Checksums" after downloading. It is displayed as shown below.
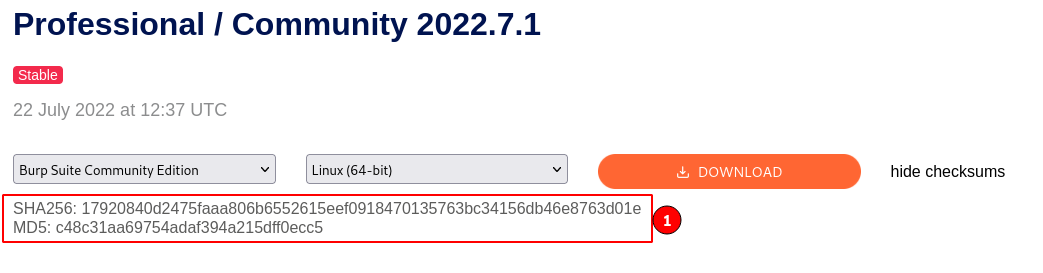
4. use md5sum or sha256 sum from the command line to verify your download.
$md5sum burpsuite_community_linux_v2022_7_1.sh
c48c31aa69754adaf394a215dff0ecc5  burpsuite_community_linux_v2022_7_1.sh
This helps to verify that the file you have downloaded is indeed from the portswigger release and not tampered with by any malicious users.
5. The installation is straightforward. Make the script executable using the chmod command.
If you are using Kali Linux, the BurpSuite will come pre-installed.
$ chmod u+x burpsuite_community_linux_v2022_7_1.sh6. Run the executable and follow the instructions.
$ ./burpsuite_community_linux_v2022_7_1.sh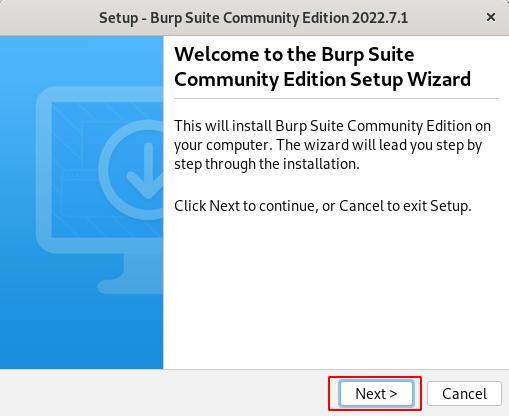
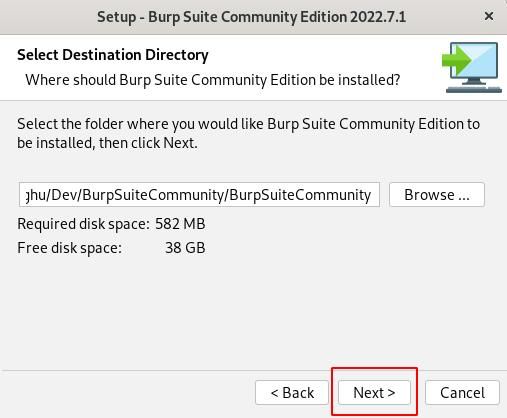
Select where you want to install the BurpSuite and click on the next.
Keep the default for the location of the symlink and click on next.

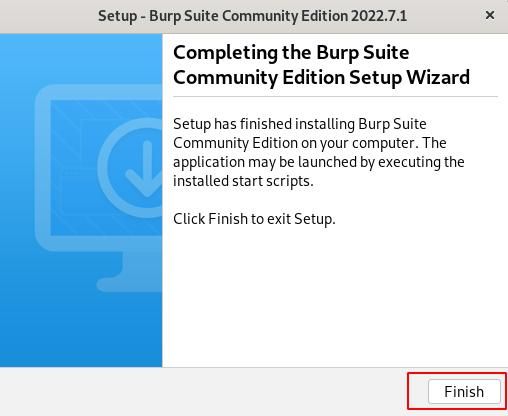
Click on "Finish" to complete the installation.
Starting BurpSuite
Navigate through your system application, look for the "BurpSuite Community" icon, and click to launch. It can also be found manually by going to the BurpSuite installation directory and running ./BurpSuiteCommunity.
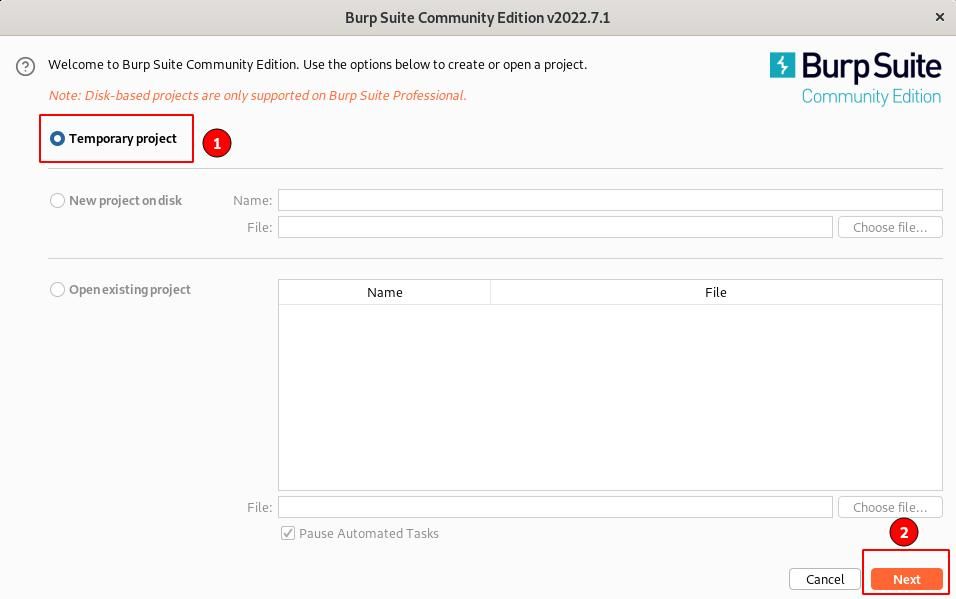
Here we can observe that the saving of the project feature is only limited to the professional edition.
Select the Temporary project and click the "Next" button to continue.
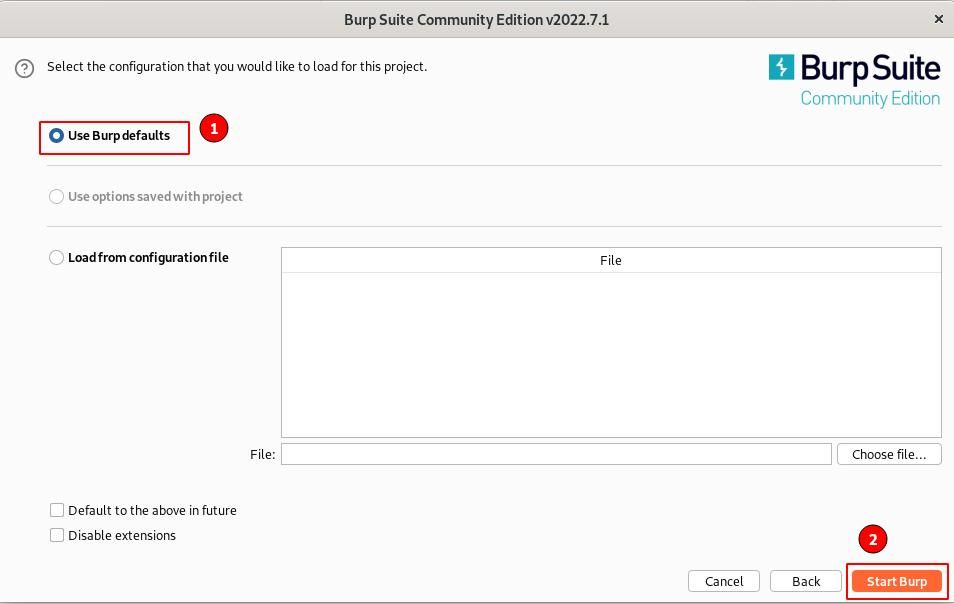
Custom configuration in BurpSuite gives you more control over how the tool must behave, what type of checks you want to enable by default etc. This we will be covering more in the advanced section.
Let's start using the BurpSuite defaults and click the "Start Burp" button.
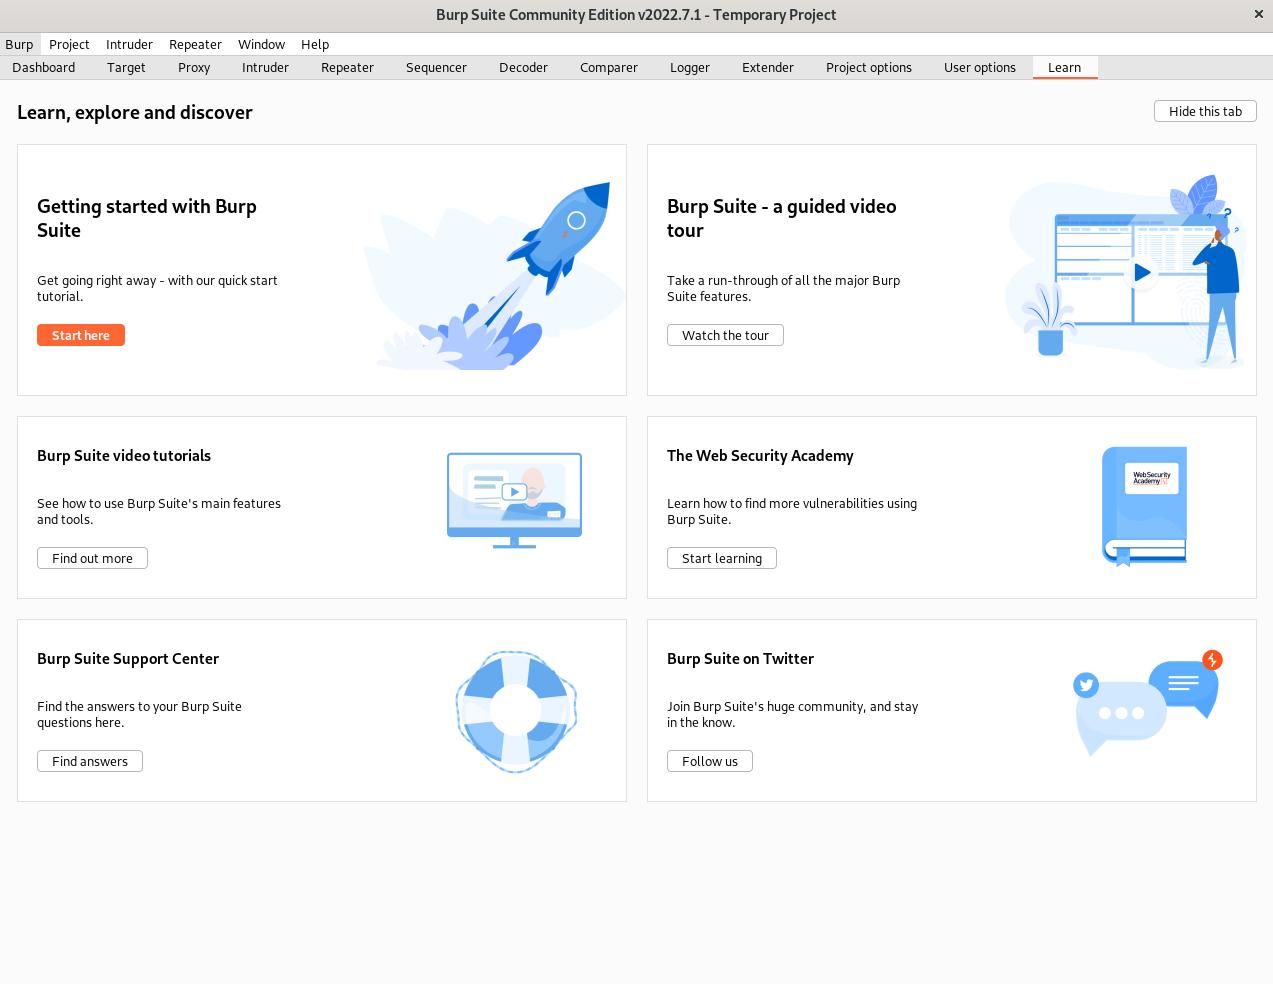
Finally, the BurpSuite will be launched and will be displayed as shown below.
The installation process will be very similar to Mac and Windows operating systems, with minor changes.
Ensure your BurpSuite is installed and running before continuing to the next section, the BurpSuite overview.